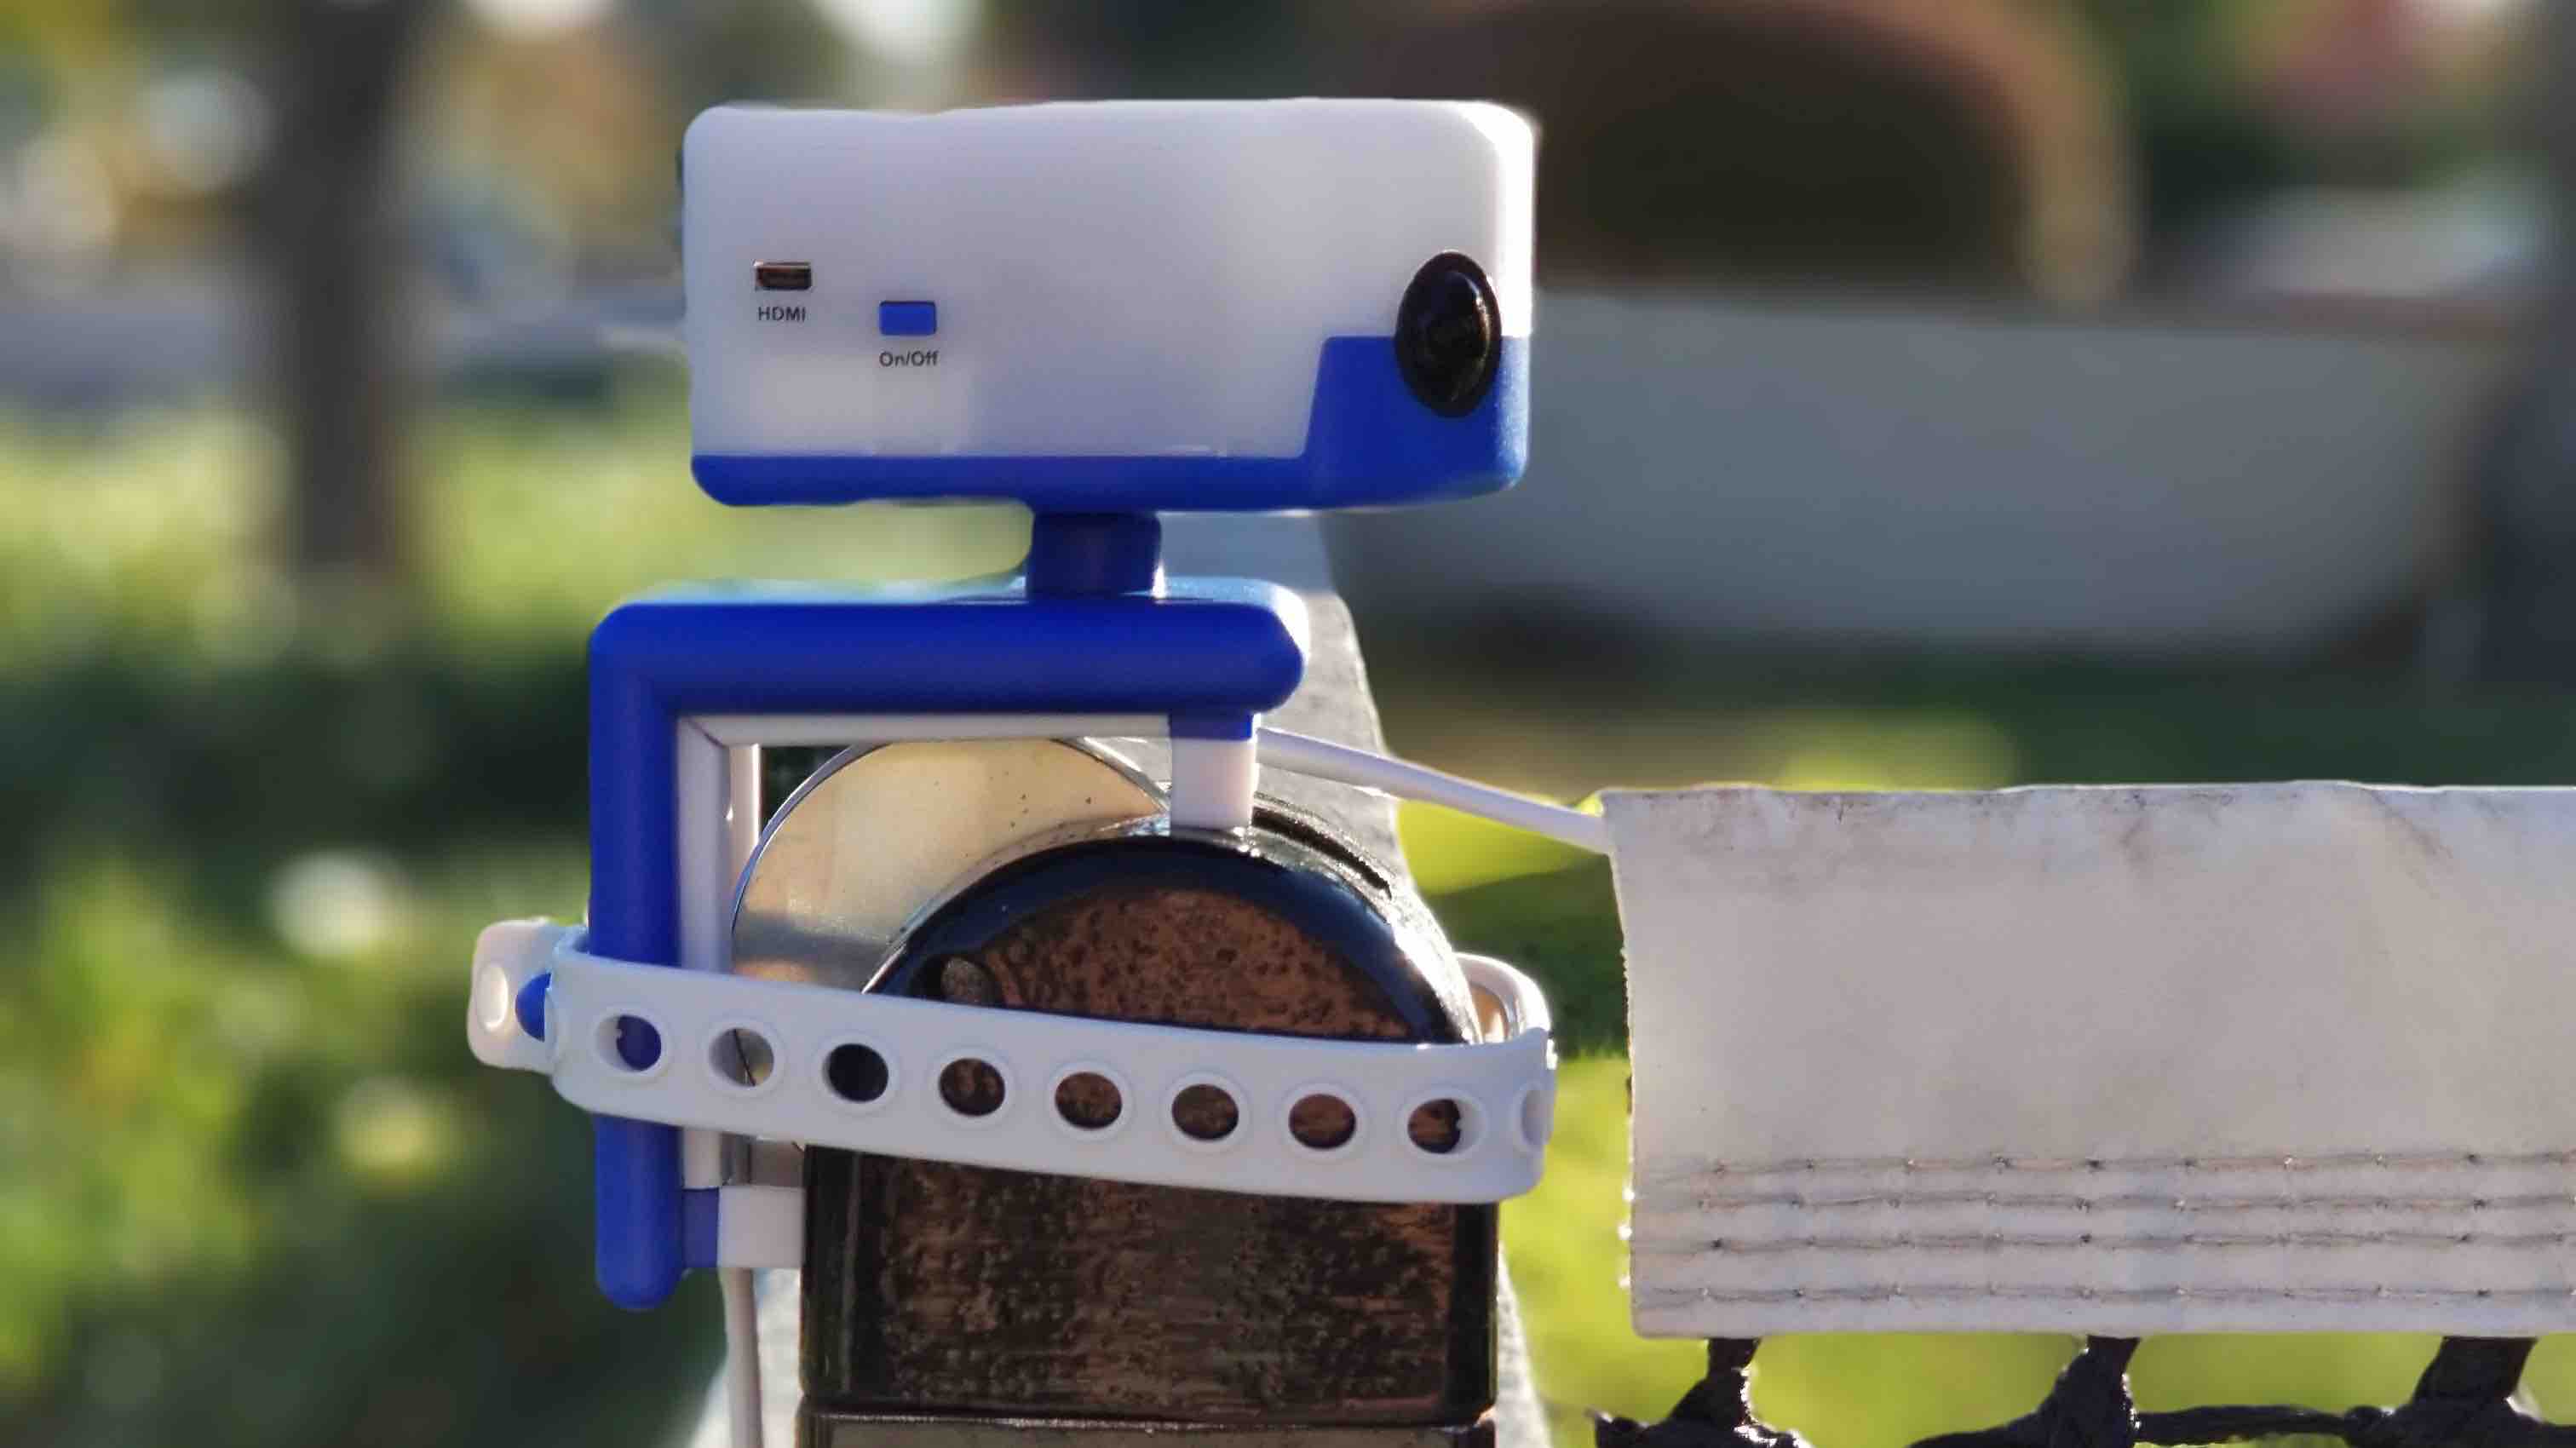
Hardware
Learn about the In/Out hardware!
 For In/Out v4.0, please visit this page instead.
Packaging content v1.x, v2.0, v3.0

- Tennis ball enclosure
- In/Out Device v1.x, v2.0, v3.0
- Protecting sleeve
- L-attachment and band
- USB cable
- Battery
- 4 feet
Tip: Make sure to charge the battery before first use.
In/Out Device v1.x, v2.0, v3.0
The device has a power button on the right. After inserting a battery, press it to turn on the device.
Preferably, turn off the device by using the red icon in the top right of the screen. Or press the power button once.
Tip: If you press the power button for 4 seconds, the device will hard shut down.
The device has also the following items:
- A second button on the left
- a micro HDMI output
- a microSD card slot
There is no USB port on the device itself. There is a USB port on the battery for charging only.
Comparison of hardware versions
There are five hardware versions of the Net Device:
| Net Device | Info |
|---|---|
 |
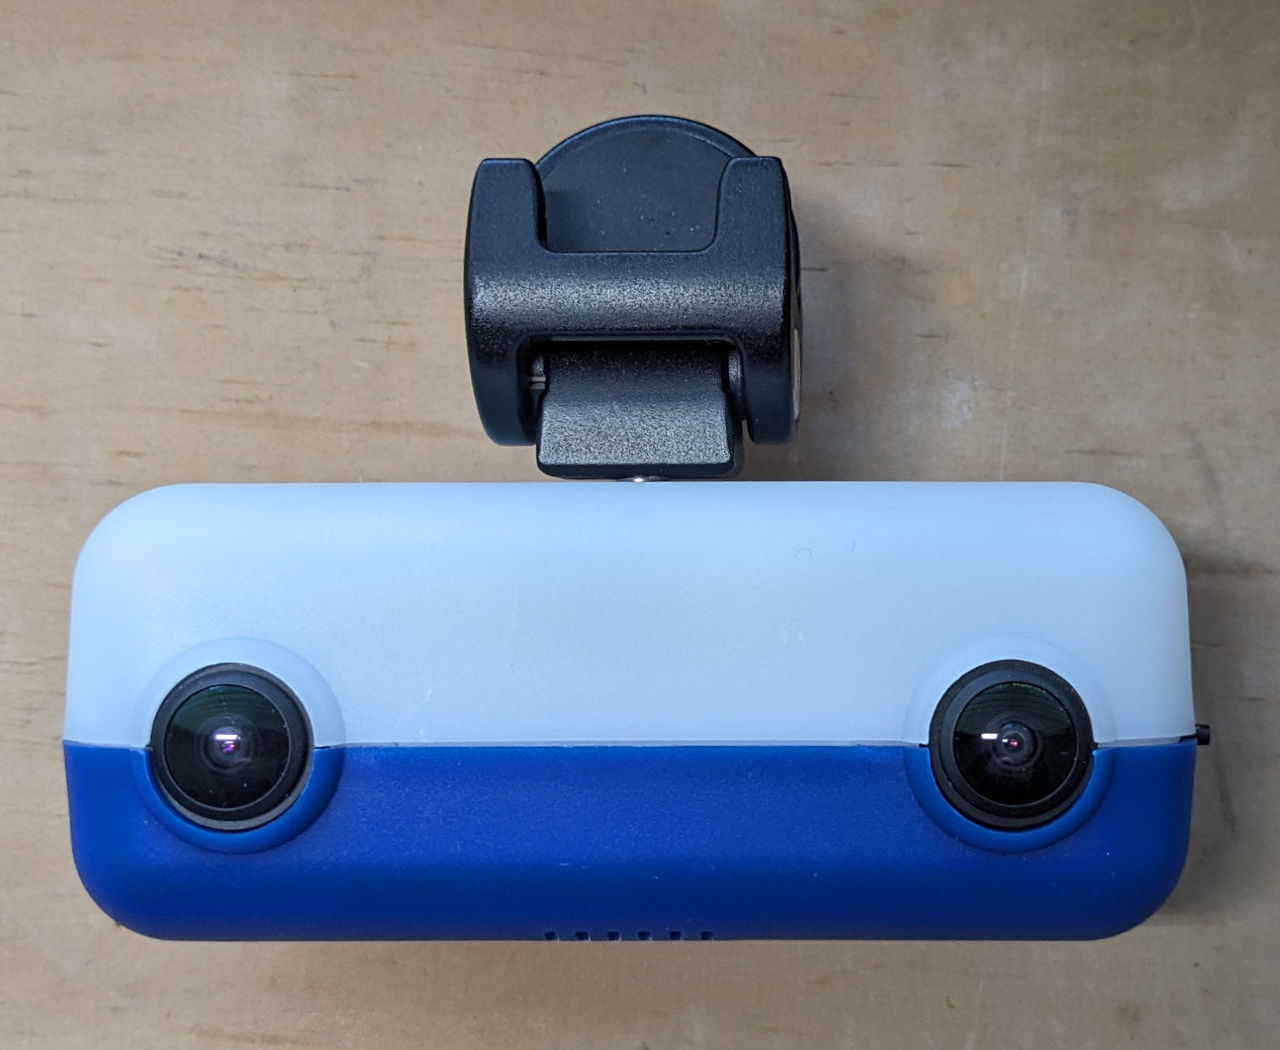
V4.0 Shipping starting December 2023 Bottom is blue, no screen, phone holder. |
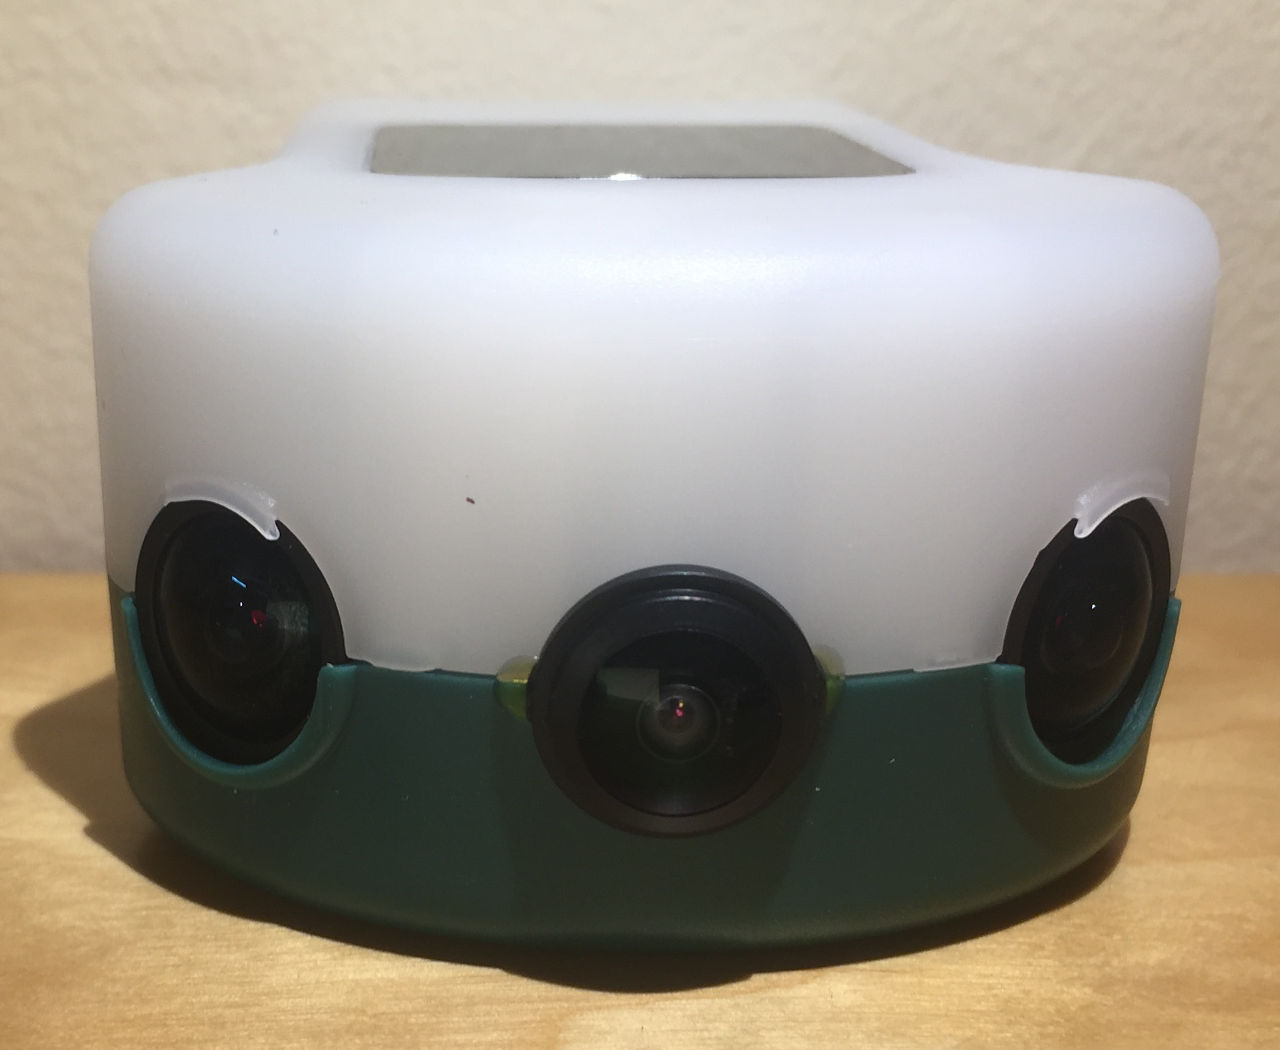 |
V3.0 Shipping starting February 2021 Bottom is green, third camera. |
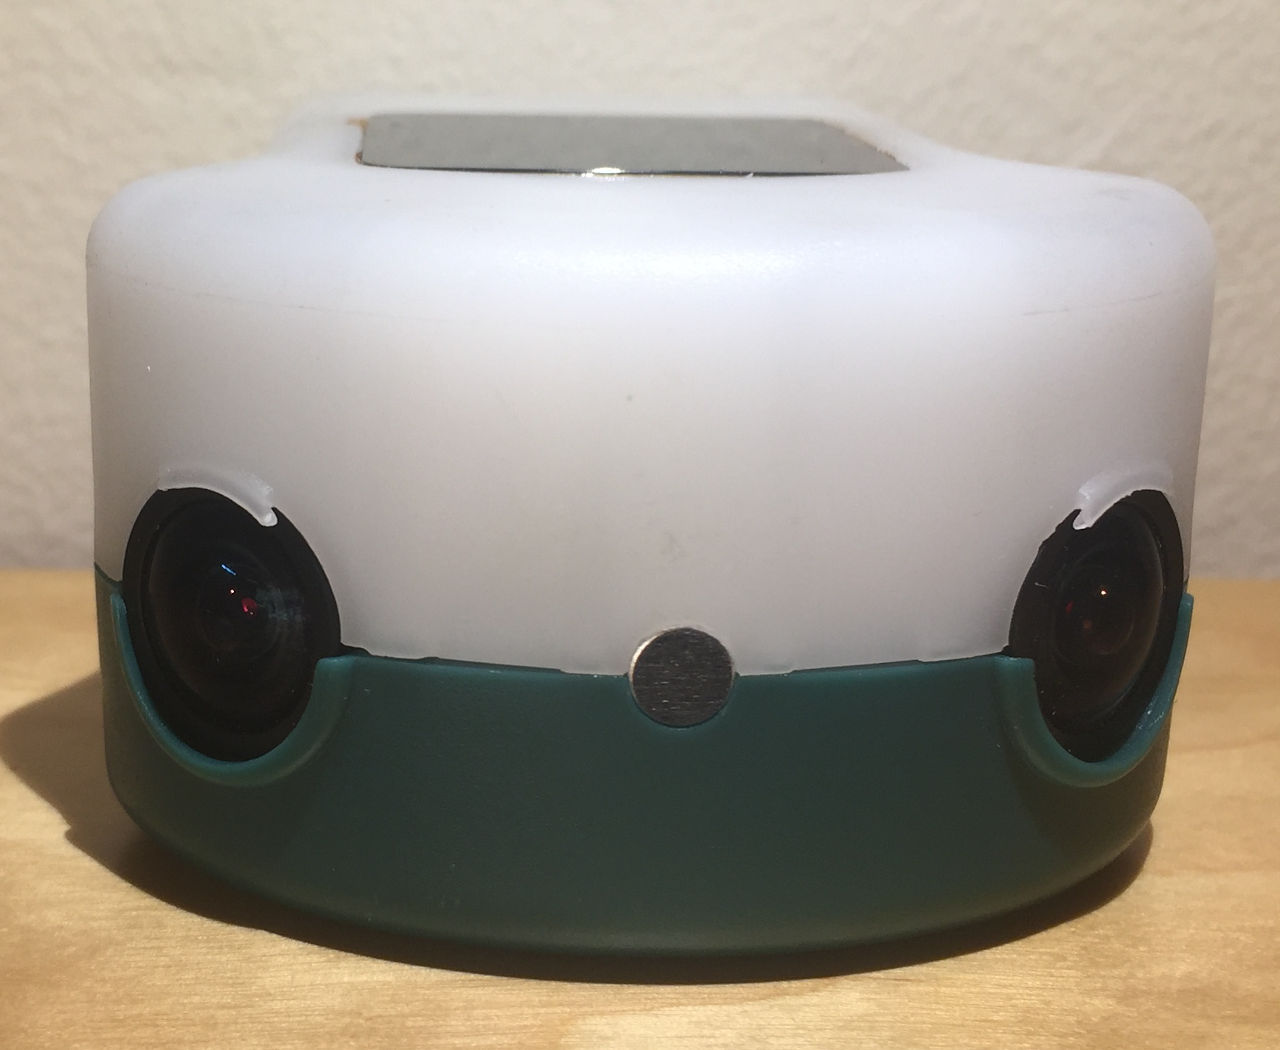 |
V2.0 Shipping starting September 2019 Bottom is green. |
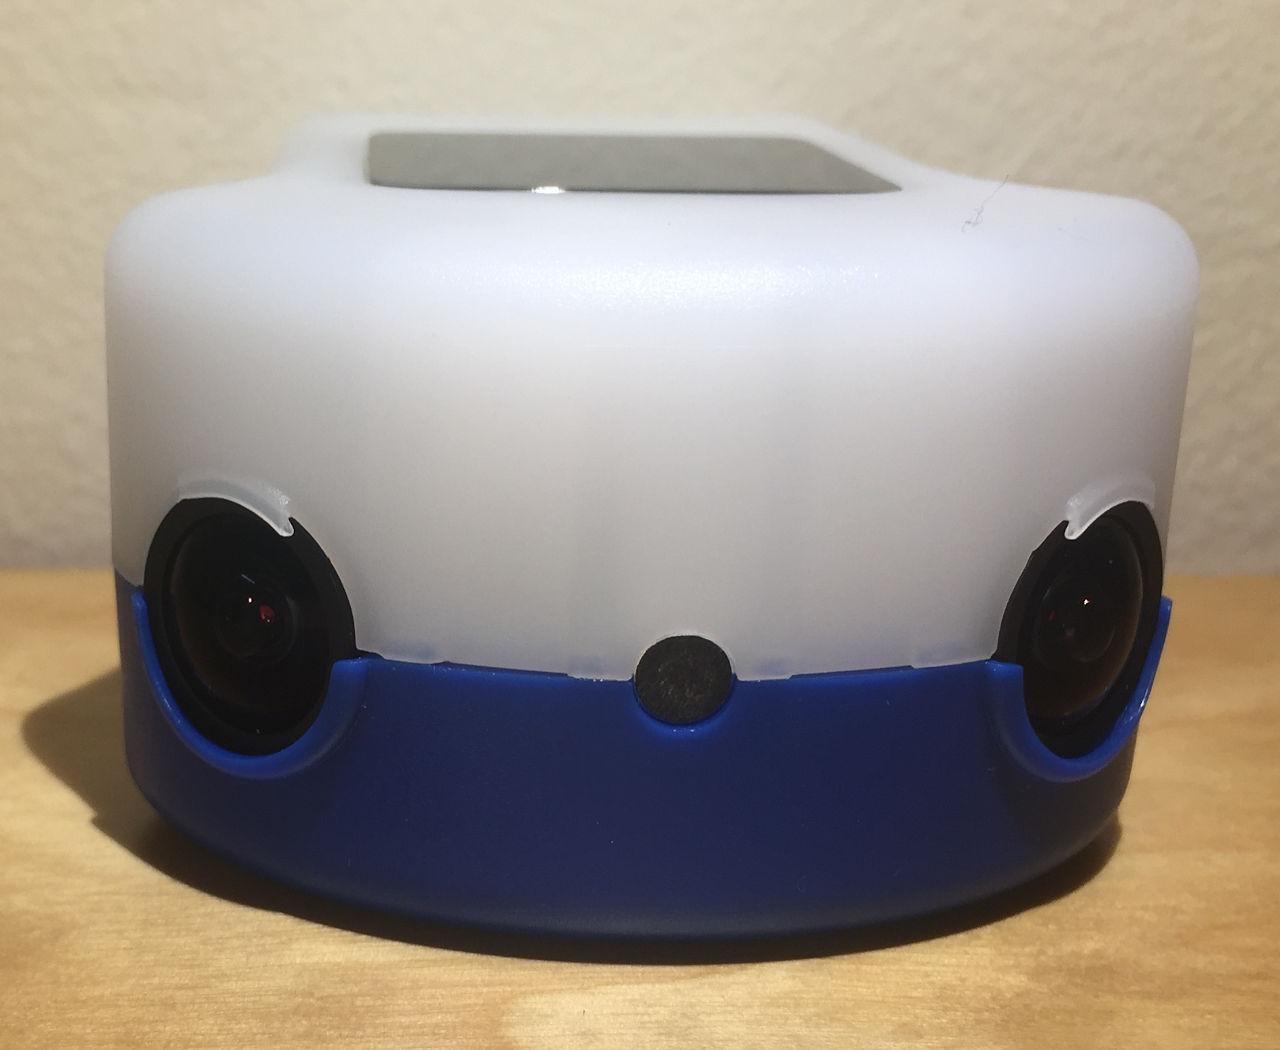 |
V1.1 Shipping starting March 2018 Bottom is blue (lenses are circled). |
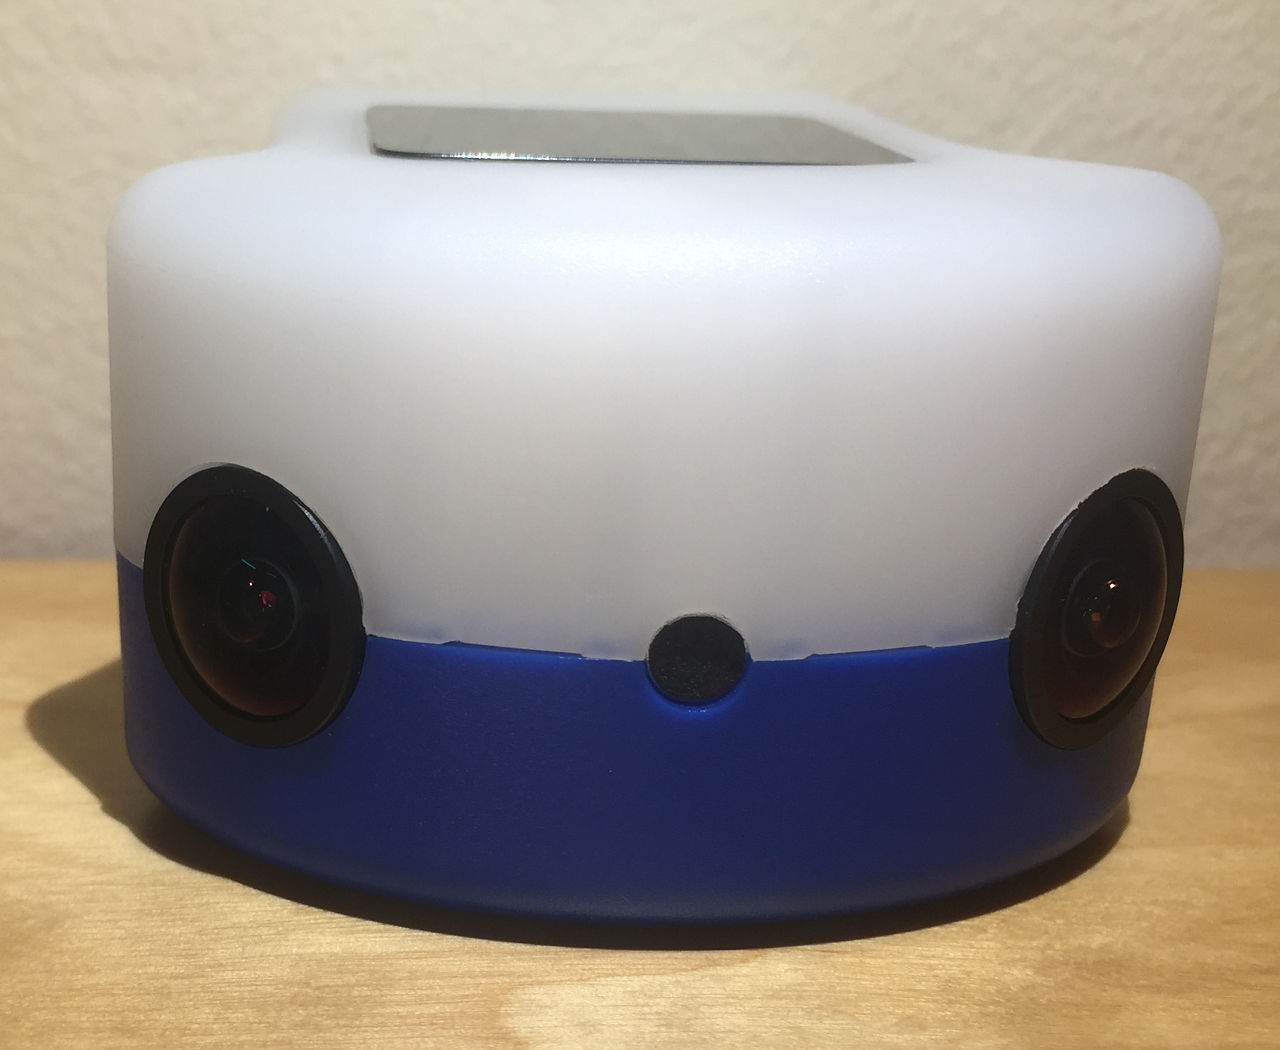 |
V1.0 Shipping starting September 2017 Bottom is blue. |
There are two hardware versions of the Line Device:
| Line Device | Info |
|---|---|
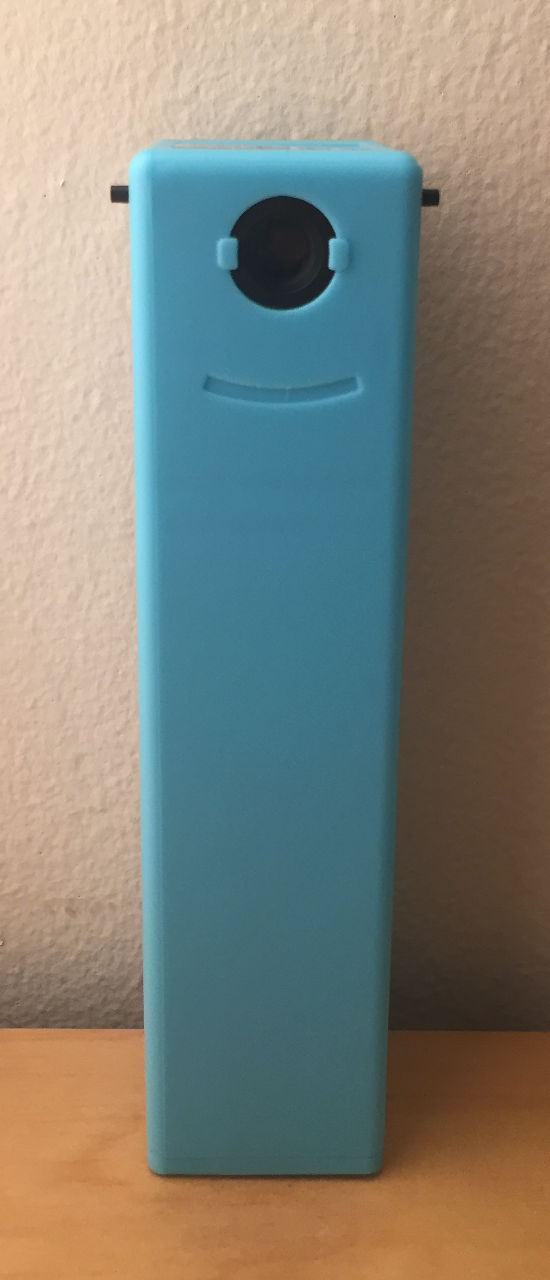 |
V3.0 and V4.0 Shipping starting February 2021 and December 2024 Device is light blue. |
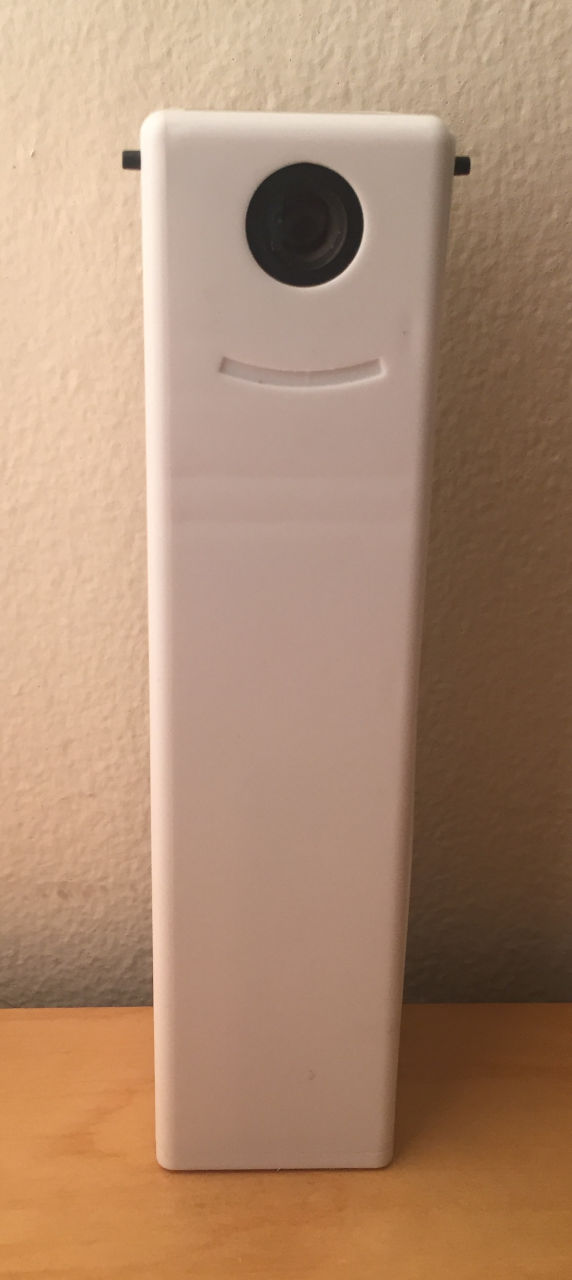 |
V2.0 Shipping starting September 2019 Device is white. |
Smiley protector
Avoid removing the smiley protector. If you have removed the protector, you can put it back like shown in the following video:
Tennis Ball Enclosure
The tennis ball enclosure will protect your In/Out device. It's ideal for carrying your In/Out device in your tennis gear bag.
Buttons on the Net Device
There are two buttons on the device, one on each side. The right side button is the power button. It behaves like on any phone:
- Press one second to turn on the Net Device
- Press less than one second to turn off the screen
- Press more than one second to ask for shutting down the Net Device
- Press more than five seconds to hard shut down the Net Device
The left button is used only if you want to upgrade the firmware of the Net Device with a microSD card. Then, during boot, you need to press both buttons at the same time as explained here.
Battery Charging
Insert a micro USB cable to charge the battery. The red leg goes on. When the battery has finished charging, the red led goes off.
Battery Insertion and Removal
DON'T INSERT THE BATTERY UPSIDE DOWN!!! There is a printout on the white face of the battery stating that "this side is down". So you should see the blue face when inserting the battery.
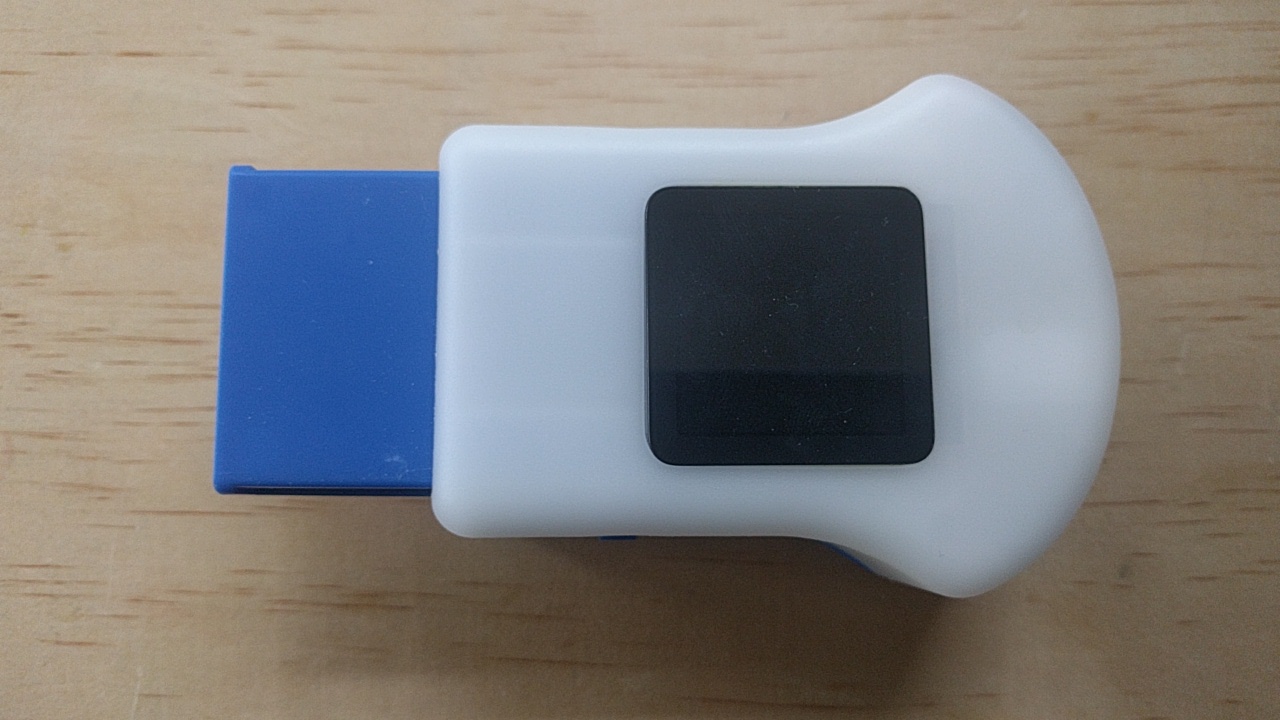
Don't force under any circunstance!
Insert the battery in the device. Make sure the white side faces the bottom of the device. Make also sure that you insert the blue handle in the device. Push until you hear a click. The battery is then secure.
To remove the battery, push on the battery in the device. The spring/clip will release the battery and the battery will eject.
Important Tip: The spring/clip that retains the battery is at the front of the device. Use your middle finger to push on the front of the white device between the two cameras when removing the battery.
L-attachment and Band
Attach to the blue L-attachment, the side of the band that has only one hole.
Tip: Leave the band attached to the L-attachment in the ball enclosure.
Screw the device to the L-attachment. There is no reason to force. The device will continue to screw forever so that you can adjust the angle of the device on the net post.
To unscrew the device, you don't need to force but you need to snap and rotate the device in the counter-clokwise direction. See this video:
Important Tip: When installing on court, it's HIGHLY RECOMMENDED to attach the L-Attachment without the device on the net post first, before screwing the device. See the page "On court".
Important Tip: When uninstalling from the net post, it's HIGHLY RECOMMENDED to unstrap and detach the L-Attachment and the device together. Then unscrew the device as explained above. See the page "On court".
4 feet
The 4 feet are optional. They can be put to the L-attachment in rare situation where the net cord spool is outside of the net post as shown in the following picture:
